
That little pumpkin has a slightly happy face...I wonder what the rest of them will turn out to look like. Yes we do have an arsenal of carving tools as you can see, you know just in case the pumpkins decide to get a little unruly!! muhahahaha!
 Here is my little guy working his carving magic. I let him use a steak knife this year because all of our pumpkin carving tools bit the dust from a few years of carving amazing pumpkins!
He made me nervous a few times but with some direction he did GREAT!
& you know what happens when you carve these babies out & give them lively faces.....yep you know it...they reward you with beautiful & delish seeds!!
& you know what happens when you carve these babies out & give them lively faces.....yep you know it...they reward you with beautiful & delish seeds!!
WE love pumpkins seeds at this house!
This year I made them with garlic salt! DELISH!! So delish in fact I am not sure we will have a whole lot left for Monday night's Annual All Hallows Eve Gathering.

For any of you out there who have never made your own roasted seeds because it scares you....well I am here to tell you its super easy & you should try it!
Here is how I do mine:
~after scooping out the seeds you wash them off really well removing any pumpkin gut remnants
~I find dumping all the seeds in a colander works well for washing
~after you have washed them off I lay them out on a clean dish towel that absorbs liquid well
(you know how some towels don't do quite get the job done)
~once they have been payed out in a nice even layer I sprinkle my seasoning on them
~You can use any flavor combo you like, you could do a ranch or taco season on them, that would be YUM!
~Once seasoned leave them on the towel for about 45 minutes then dump them onto dry cookie sheets into an even layer
~bake them in an oven set at 225 anywhere from an hour to an hour & a 1/2 depending how wet they were when they went in & how done you like them
That's it...easy peasy!
these guys here look like a motley crew!! but they yielded a ton of seeds. They gave us more seeds than the 2 large ones did!
Our large pumpkins are still waiting to get faces because my oldest son & the Mr. cant decide what to do with them yet.....but when they do you can be sure I will share!

Don't they look so spooky all lit up? I especially like that I can enjoy their illuminated faces while listening to Halloween Radio on Pandora! It amazes me just how many spooky songs are out there!
You should check it out when you get the chance!

Oh & one more thing before I head off to a Halloween dream land...
I would like to say THANK YOU to one of my Besties Tami!!
She made me the MOST AMAZING collection of Halloween magnets ever!
(She crochets & I absolutely can't!)
When I look at them I cant help but smile!
Because they make me so Happy I want to share them with the world because maybe you can find some happiness in them too! You know spread the love!
 See???!! Aren't they the cutest!?!?!
I love them all BUT Frankie must still be may fave because every time I look at him I literally giggle & get giddy!
On that HAPPY note I am off, until the next project....Happy Creating!


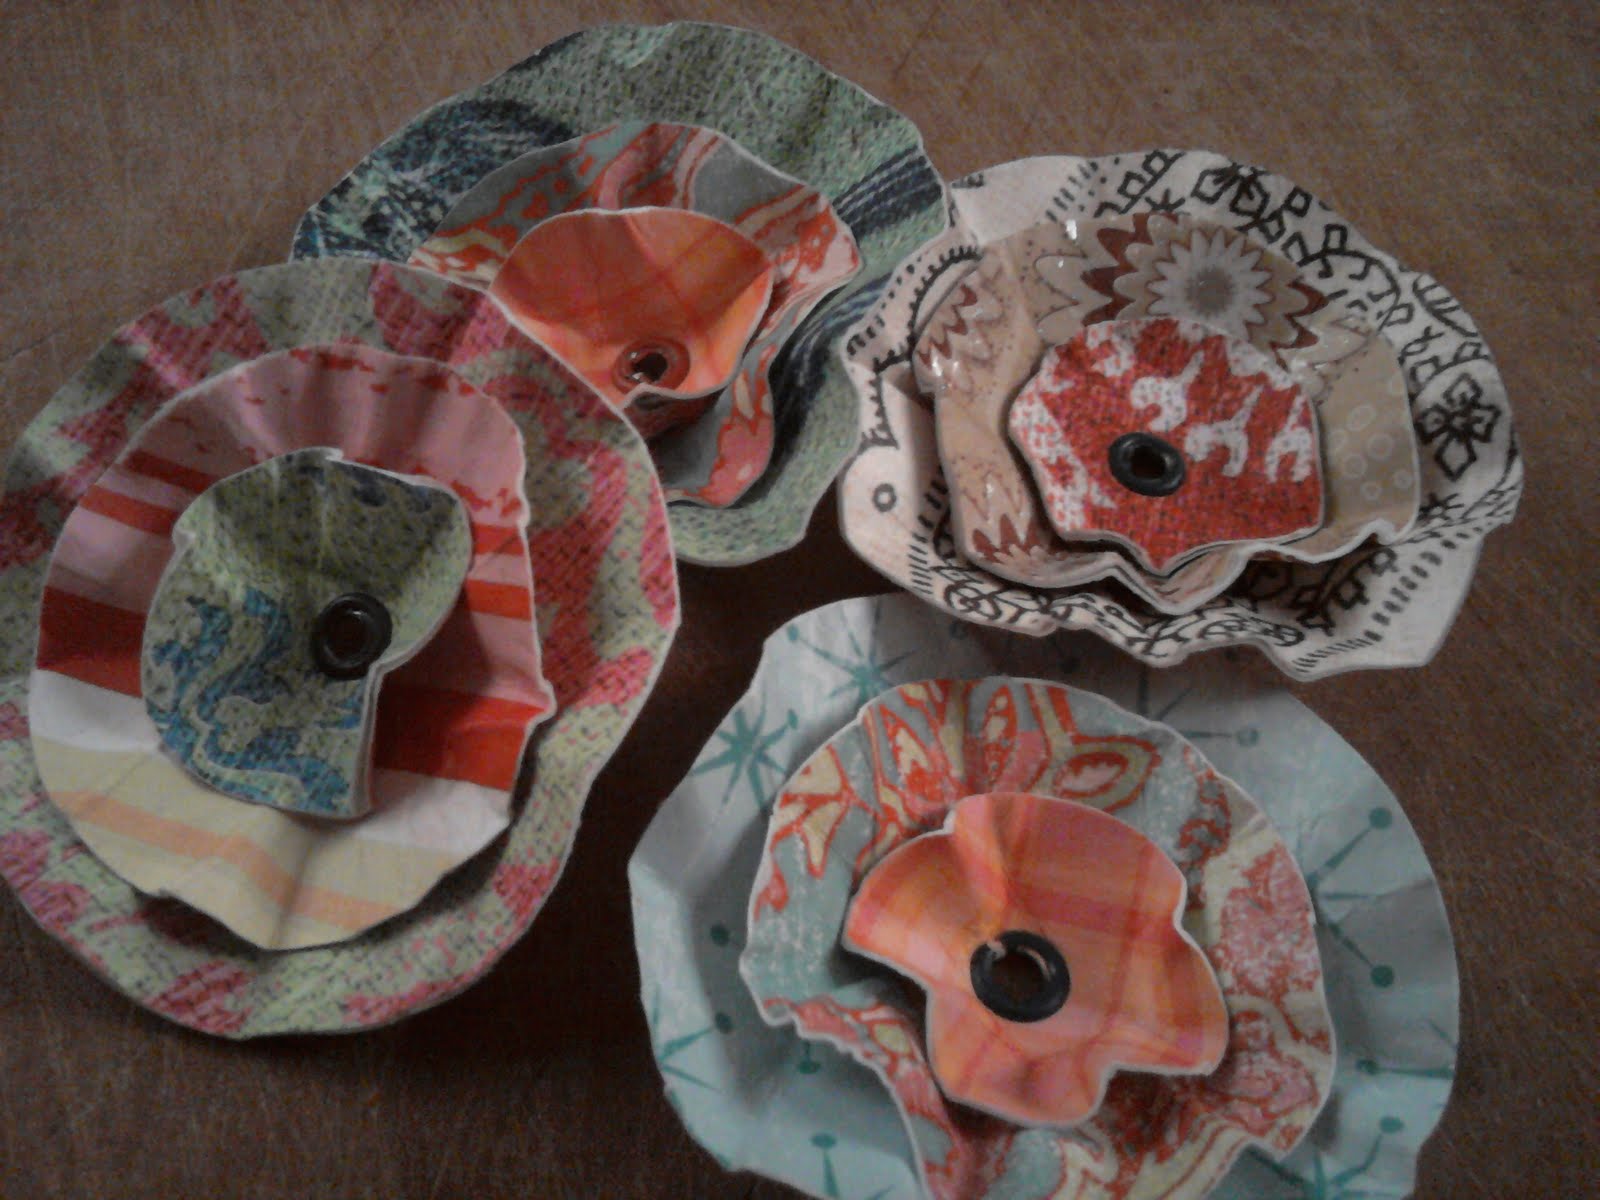
 I am looking forward to using this tool on fabric & I will definitely let you all know how it does!
 I used my new tool to set this cute little dragonfly eyelet. . .


 yep. . . . .this guy right here, little Mr.